
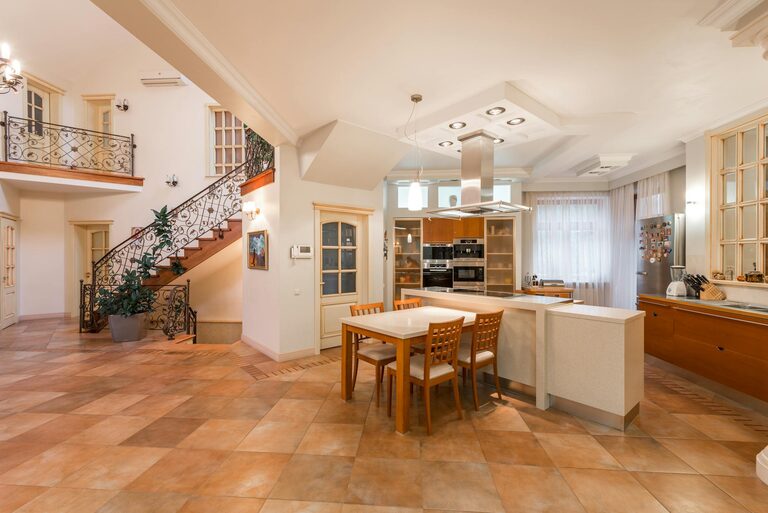
Having a clutter-free kitchen counter can transform your cooking experience, making meal preparation more enjoyable and your space visually appealing. A clean, organized countertop not only looks great but also helps you stay efficient and stress-free. If your kitchen counters are often piled with appliances, utensils, and miscellaneous items, don’t worry! Here’s a step-by-step guide to help you clear the clutter and maintain an organized kitchen.
Why Keep Kitchen Counters Clutter-Free?
Before we dive into the how, it’s important to understand why a clutter-free counter matters:
– Improved functionality: More free space means easier meal prep and cooking.
– Easier cleaning: Fewer items on the counter = less dust and grime buildup.
– Better aesthetics: A tidy kitchen feels more inviting and spacious.
– Less stress: A clean environment promotes calm and focus.
Step 1: Clear Everything Off and Assess
Start Fresh
Begin by removing all items from your counters. Place them in a box or on a nearby table. This clean slate helps you see what you have and decide what needs a permanent place on your counter.
Categorize Items
Sort items into groups such as:
– Daily-use appliances (coffee maker, toaster)
– Cooking utensils and gadgets
– Decorative items
– Food items (spices, fruit bowls)
– Miscellaneous (mail, keys, phones)
This sorting helps you decide which items belong where.
Step 2: Decide What Stays and What Goes
Keep Only Essentials on the Counter
Aim to keep only items you use daily within easy reach. For example:
– Coffee maker if you make coffee every morning
– Salt and pepper shakers if you season food frequently
– A knife block if you cook regularly
Store or Donate Extras
Appliances or tools used rarely can be stored in cabinets or pantry shelves. Items you no longer use can be donated or recycled.
Step 3: Create Dedicated Zones
Assign Areas for Specific Purposes
Organize your counters into zones based on function, such as:
– Preparation zone: Near the stove, with cutting boards and knives.
– Beverage station: With coffee maker, mugs, and sweeteners.
– Fruit or snack zone: A bowl or basket for quick access.
Zone organization helps keep items contained and prevents random clutter.
Step 4: Use Smart Storage Solutions
Utilize Vertical Space
Install shelves or wall-mounted racks to store spices, cookbooks, or utensils. This frees counter space and adds style.
Use Containers and Trays
Group small items like oils, salts, or cooking oils on a tray to keep them together and make cleaning easier.
Drawer Organizers and Cabinet Inserts
Keep utensils, gadgets, and appliances neatly stored but accessible in drawers or cabinets using organizers or inserts.
Step 5: Maintain Cleanliness Daily
Quick Daily Cleanups
Spend 5 minutes each day wiping counters and putting away stray items. This routine habit prevents clutter buildup.
Limit Mail and Paper on Counters
Designate a spot away from the kitchen to handle mail or paperwork, so it doesn’t pile up on your counters.
Step 6: Add Functional and Decorative Touches
Keep Décor Minimal
A single plant, a small vase, or a stylish bowl can add personality without overwhelming the space.
Use Multi-Functional Items
Choose attractive storage solutions like stylish jars or baskets to serve as both décor and organization.
Bonus Tips
– Invest in appliances with multiple uses to reduce the number of gadgets on your counter.
– Regularly declutter and reevaluate to keep counters manageable.
– Use labels to keep everything in its place.
—
Creating and maintaining clutter-free kitchen counters is about thoughtful organization and daily habits. By following these steps, you can enjoy a clean, functional kitchen where cooking becomes a pleasure rather than a chore. Give it a try, and watch your kitchen transform!